
THE SKILLS YOU NEED TO SHOOT FOOD
11 years ago, I started a blog. It wasn’t a food blog at first, but quickly became one. When I started my site, I remember incredulously asking a friend “do you think I could make $500 a month?” That was my big goal. $500 a month.
Today, I’ve built a 6-figure career and become a self-taught food photographer who has created imagery for Google, Betty Crocker, NYT-bestselling authors and more.
And it all started with a Canon dSLR I bought for $300 in the parking lot of a 7-11. I was not a natural photographer. The technicalities of photography felt confusing and hard to learn. But the thing about photography—and most especially food photography—is…once you know the basics, the learning curve is short and simple. And in no time at all, you can unlock your creativity & start taking pictures you are proud of.

I shoot natural light because it’s simple, gorgeous and as long as I time my shoots, I can do it anywhere. Whenever possible, I select a south-facing window, as the lighting tends to be purest and most consistent throughout the day.
Want to peek into my studio and see my natural light setup? Tune into this video as I walk Elizabeth LaBau through a typical shoot.

My Favorite Photography Gear
Over the last 9 years, I've gone from having pennies to spend on this weird hobby called food blogging, to building a studio full of equipment designed to keep top-tier clients happy. Throughout this process, I've learned a lot. Bought a lot of bad equipment. Tried a lot of weird options. And discovered the best. This is the best. Let me help you shortcut the learning curve by sharing my must-haves. In return, your purchase through the affiliate links supports even more free intel. From one foodie to another, happy shopping. And happy snapping.
Cameras + Lenses
The Perfect Starter Kit
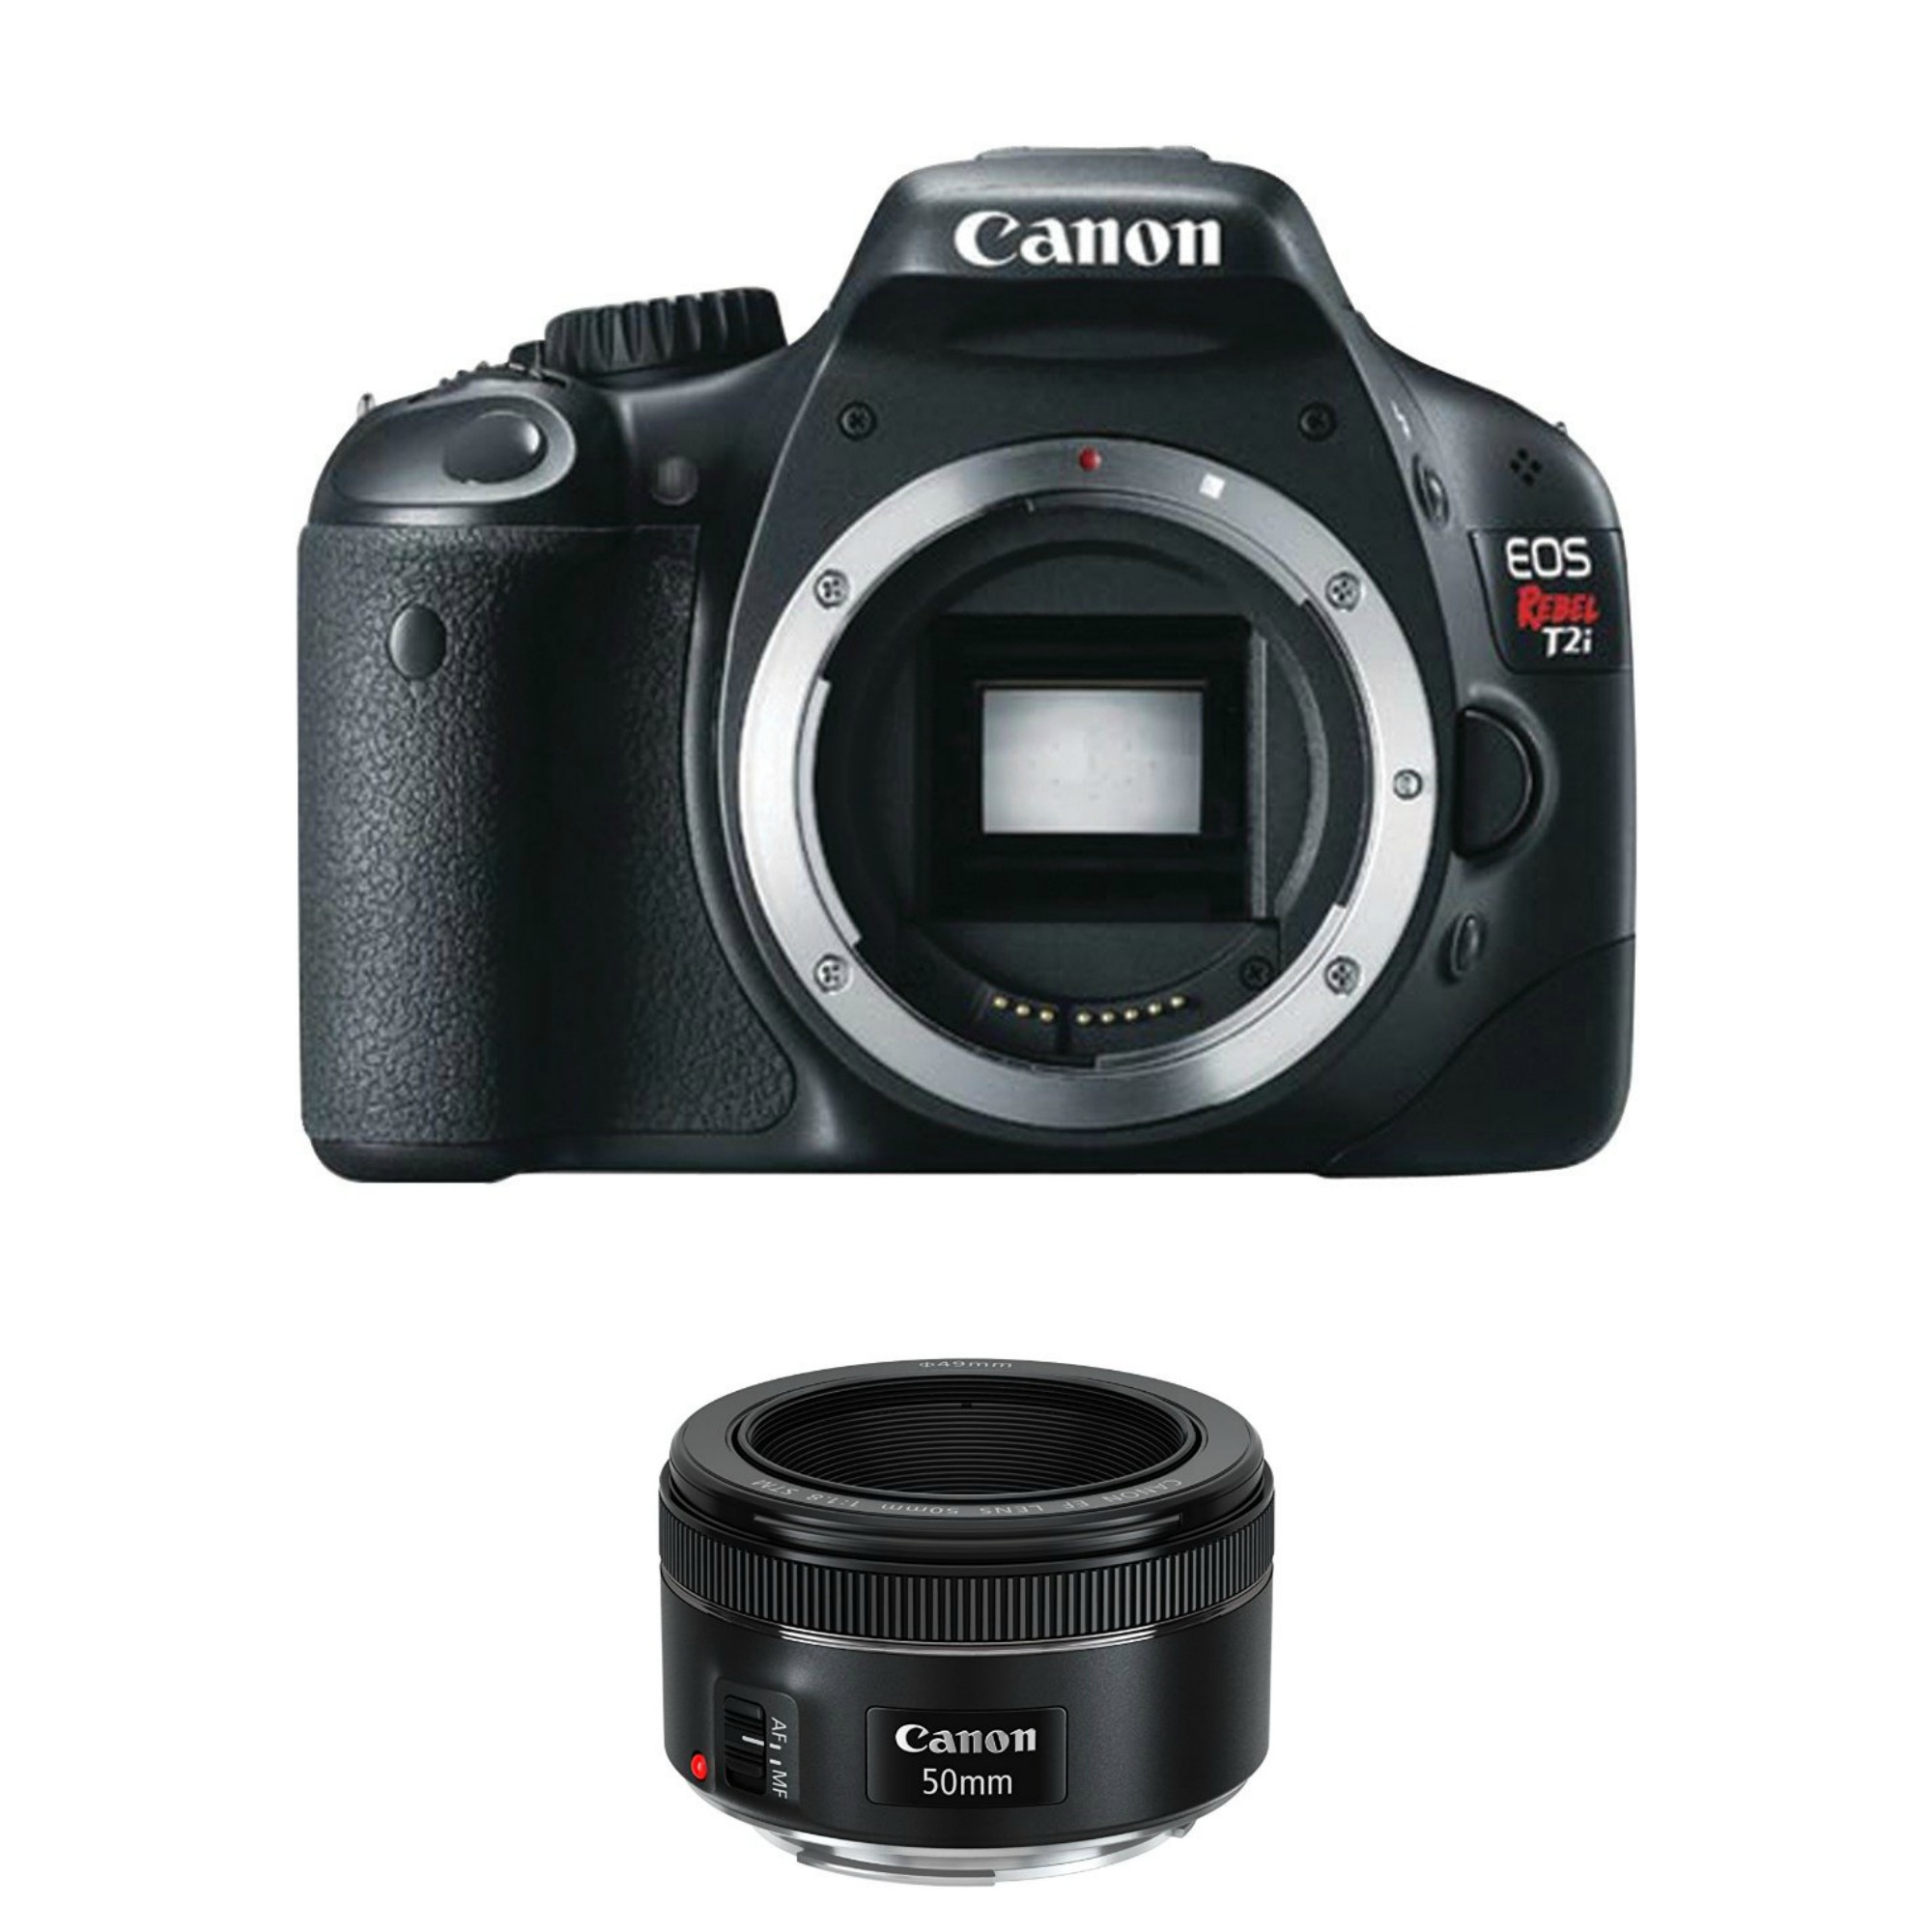
New to food photography and need a solid, but affordable starter kit? The basic T2i is dirt cheap, but takes great shots. Pair it with the uber-affordable, crystal sharp 50mm lens and you'll have everything you need to take gorgeous images of your food. The best part? These lenses hold their value, so when you're ready, you can sell back and upgrade. Approx. Total: $601
Buy It Now:
Ready to Upgrade

So you're ready to invest, and want to take your food photography to the next level? The Canon 6D will get your much larger images, even better sharpness and the Sigma 35mm takes beyond beautiful shots. Added bonus: if you're into expanding your photography portfolio, this lens is perfect for lifestyle shots. Approx Total: $2399
Buy It Now:
Time to Go Pro
For professional level shots with perfect resolution, the Canon 5D is worth every penny. Don't even hesitate. This camera will make you pant with it's perfection. Add the crystal clear, super versatile 24-70 2.8 Tamron lens and you won't look back for a second. This combo creates the shots clients rave over. Approx Total: $3800
Buy It Now:
The Best Tripod Ever

I used to think photographers talking shop over tripods were ridiculously meticulous. And then, I bought this one. Insanely sturdy and reliable, relatively lightweight and insanely easy to adjust for each shoot, this pretty tripod also boasts the smoothest panning I've yet found (ideal for video shots). If you're remotely serious about food photography, consider this a must-have.
Buy It Now:
The Perfect Assistant

For truly beautiful lighting, backlight your food and place a silver reflector at the front of your shoot. Unless you have an in-house assistant, a reflector stand with boom arm is the best and simplest way to ensure you've got a portable reflector, ready for every shot. I've tried several, but this combo is my favorite. Low-cost, lightweight and totally sturdy.
Buy It Now:
The Best Storage

High quality SD cards make all the difference, especially when you're shooting raw. For fast performance and tons of space for photos and video, the Extreme Pro is the best I've found. Also, important, a high quality back-up drive where you can archive raw images, offloading them from your computer, to keep it running smoothly.
Buy It Now:

Backdrops
You can find several of my DIY backdrop tutorials here. And while I love rustic wood and weathered metal, the most classic photos (and the simplest way to get rocking with food photography) is to start on classic, white backdrops with a touch of texture.
After many, many years of trying many, many different options, I stumbled on custom printed Sintra Board—a PVC based sign which prints matte, is incredibly sturdy, and can be cut into whatever size you prefer. I’ve create a walkthrough tutorial so you can make your own in the highlights section of my @brookelark instagram here.


Lightroom was created for photographers, and is truly the most powerful tool I have in my back pocket. It allows for quick editing of multiple images. And gives me near complete control over the way my final images look.
Of course, if you’re editing in Lightroom, you should be shooting in RAW. That’s how you’re going to have the most control over your images. More information is saved with each photo, so you have more editing capabilities.
Think Lightroom is scary? It’s surprisingly easy! Tune in as I walk you through some beginner-friendly tips for getting started in Lightroom.

Join me in the studio with my SERIOUSLY, TOTALLY FREE 90-Minute Food Photography Crash Course. It’s is designed to get you up and running with a professional foodtography process, stat. From lighting to setup, framing to shooting manual, the video course takes you from start to final editing in just 90-minutes. Everything you need to know! Sit down, grab a bucket of popcorn and in less time than in takes to watch a Netflix show, you can become a better photographer. CLICK HERE, SCROLL TO THE BOTTOM & SELECT the “IMITATION IS FLATTERY” OPTION. BOOM! Enjoy!